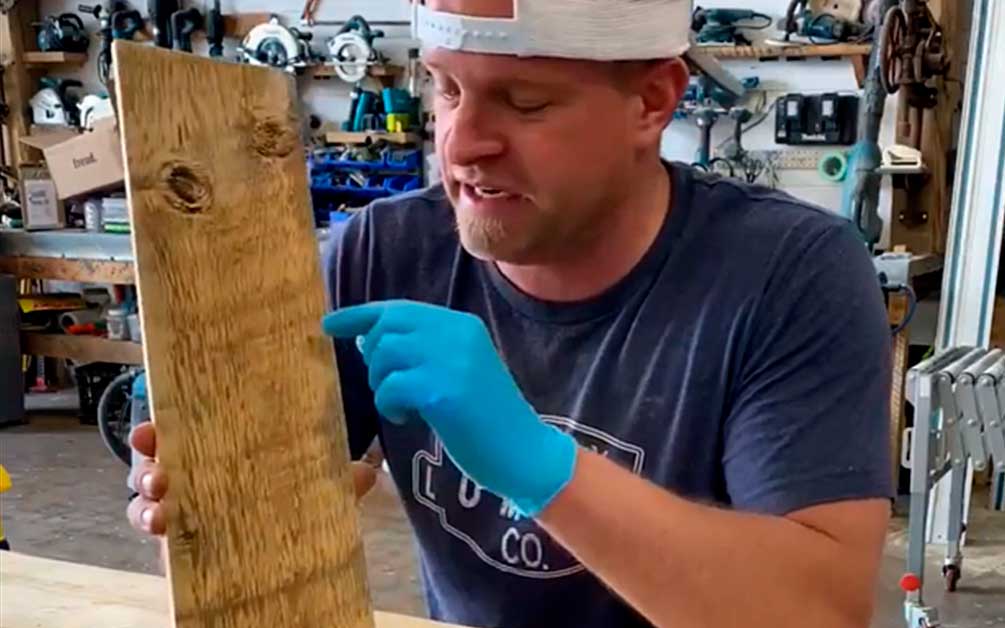
How To Age Wood
How To Age Wood | When it comes to aging and weathering new wood, mother nature is really hard to compete with which is why I almost exclusively work with REAL old barn wood. However there are times when I need to use new wood, like when I’m making giant 22’ long beams that need to be straight and uniform. Once I’ve finished assembling the box beams, I’m ready to weather them and try to replicate what mother nature does over 100 years. The best tool I’ve found for this is the RESTORER plus some extra notches from a bunch of hand tools.

Here’s the steps I take to age new wood: -SANDER WHEEL on the RESTORER This brush basically turns the machine into a hand held drum sander. I use it to wear down the corners and make them less square to match the craftsmanship of beams built years before modern technology entered the game. I pass over the corners in uneven patterns and move the brush in different directions so it’s irregular in its worn down state, making sure they catch the light at different angles. 
WIRE WHEEL BRUSH on the RESTORER (most abrasive) Wood is made up of hard fibers from the winter and soft fibers from the summer. In a game of survival of the fittest, the soft fibers get torn out and blown across the country, and the hard fibers are left behind. This brush tears out a lot of the soft fibers, trying to replicate the many seasons of hot summers, freezing winters, dust storms, and more. Beating up the wood and giving it lots of character by leaving behind distinct ridges and textures.
NYLON BRUSH WHEEL on the RESTORER This brush goes down and softens up the rougher marks made by the wire brush, just like a wind storm would.
FLAPPER WHEEL on the RESTORER Gets down in the grooves but also knocks the top off and gives it more of a rubbed look as if animals had come up and rubbed against a fence or barn. This process helps me get a much more uniform stain application. With lots of wood, when the soft fibers are exposed it soaks up stain at a different rate
.
The challenge with aging wood is giving it an non-uniform surface across the entire project, but at the same time have it uniform enough that it accepts stain at a uniform rate. After it all I look for a smooth but rough and textured surface. I want a smooth feeling with a rough and aged look that will accept stain. After this process is staining. The layers and steps taken to add color really depends on the final look desired. It’s rarely a one stage application. Often I use 2 – 3 different things to get the variations of color that I see from the wood and it’s interaction from the sun and mother nature.
Article provided by Dusty Lumber Co.


