What is Shou Sugi Ban?
Burnt wood finish, burned wood finish or charred wood for the purposes of design and function is typically called Shou Sugi or Shou Sugi Ban in western cultures. The Shou Sugi Ban japanese burning wood technique, “Ban” meaning plank, is the ancient 18th century Japanese wood burning method for wood preservation and it is also called Yakisugi. Yaki means heat with fire and Sugi is Cypress wood or can be translated as “burned cedar”. Japan being a country rich in wood forestry and having more than 66% of the country covered in forest makes it the third world for being a forest-rich country, only behind Finland and Sweden. This process was typically used to preserve the exteriors of homes from termites, wood rot and weather giving rise to the term shou sugi ban house.
How do you create a burnt wood finish?
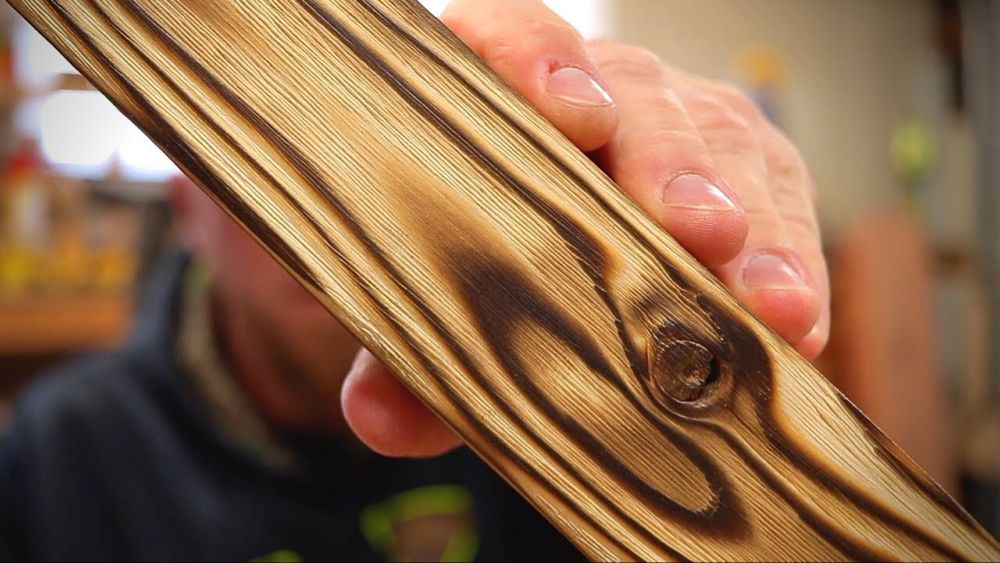
The process starts with “charring” or burning the wood in a way to only burn the outside of the wood surface without catching the whole piece on fire. This process causes the wood fibers to shrink and and close thereby sealing the wood fibers from rot, insects and it acts as a fire retardant. It is commonly used in clad siding on traditional Japanese houses and buildings as it is dimensionally stable after the process and has a great life expectancy while adding beautiful character and appearance.
Traditionally when the process if performed it involves binding three boards or planks together to form a triangle and placed over a fire with the bottom of one end being exposed directly to the fire making the bound boards act like a chimney. The time required for burning wood or charring the wood depends on the density of the wood and the moisture content. Typically, the wood is kept burning until it penetrates 1/8”-3/16” of the wood surface. The heat inside the bound planks of wood will need to exceed 250 degrees all the way thru the stack while the hottest area being upwards near 800 degrees Fahrenheit. After reaching the desired burn and duration the boards are then split apart and doused with water to extinguish any open flames.
It is best to dry the wood to 10-15% moisture content prior to burning. This creates a more uniform and consistent finish and reduces warpage of the planks. This process was done by carpenters near a river or on empty rice fields. Yakisugi is still extremely popular today in Western Japanese culture as in Western culture it is now viewed as a trending and popular and eco-friendly alternative to aluminum or plastic siding.
What are the advantages of Shou Sugi Ban Wood or Yakisugi?
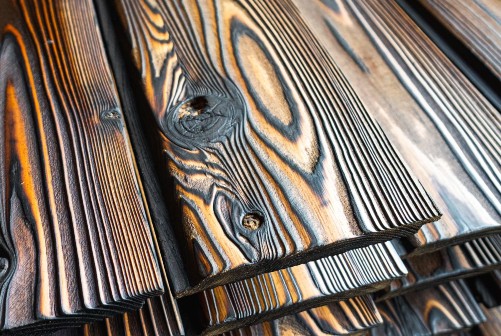
Some major advantages of Shou Sugi Ban process or Yakisugi are it being low in cost to create, and the wood planking can be left to patina over time adding character while still maintaining a water and weatherproof surface. It is also resistant to mold and rot making it ideal for structure cladding. It is also resistant to termites and other insects. The process is complete by brushing the surface to remove some of the loose char from the surface then adding oil to aid in the preservation process.
How do you burn wood with a torch?
If you do not have the ability to follow the traditional Japanese process many furniture builders have resorted to more efficient alternatives including using a “torch”, There are many different “torches” that can be used to accomplish this including a butane torch commonly used for plumbing soldering of copper joints, weed torch used in landscaping to the more recent addition of the grill blazer torch that resembles more of a gun than a torch and some even use a propane torch. The same desired results can be achieved as the traditional route but with more of a controlled approach where the user can burn some areas more than others or they can control the severity of the burn depth.
Shou Sugi Ban color stain options
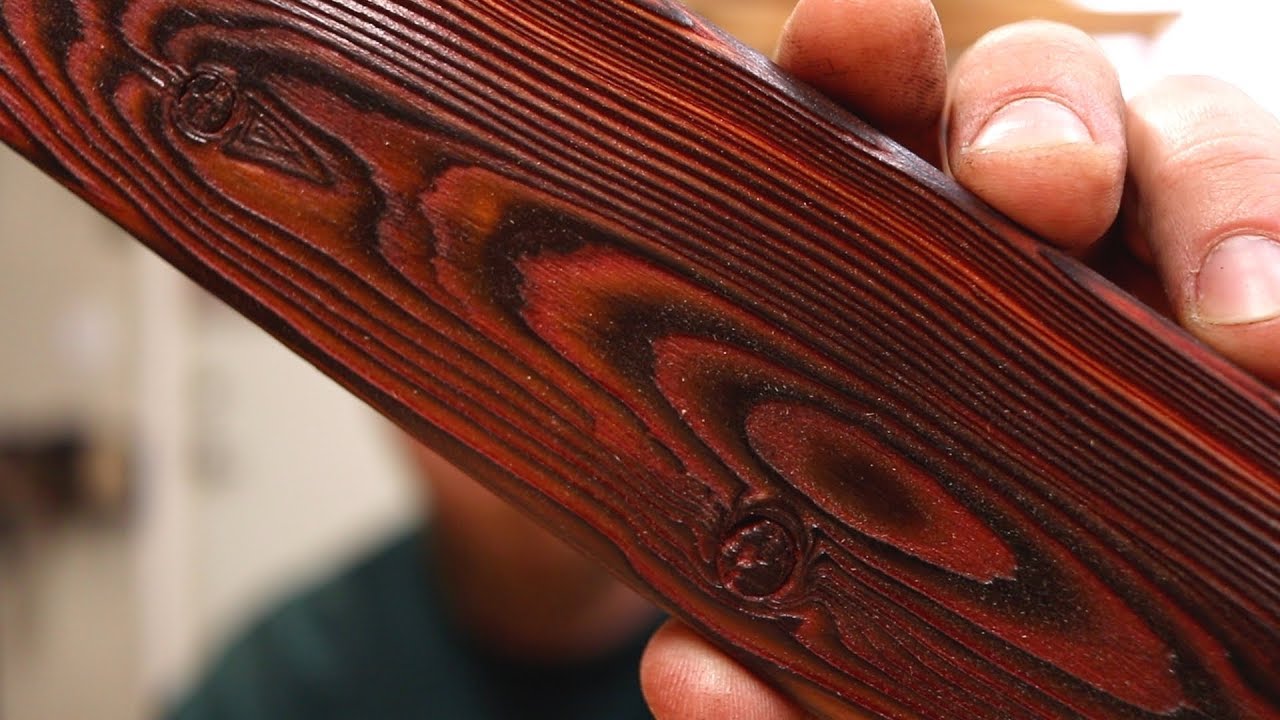
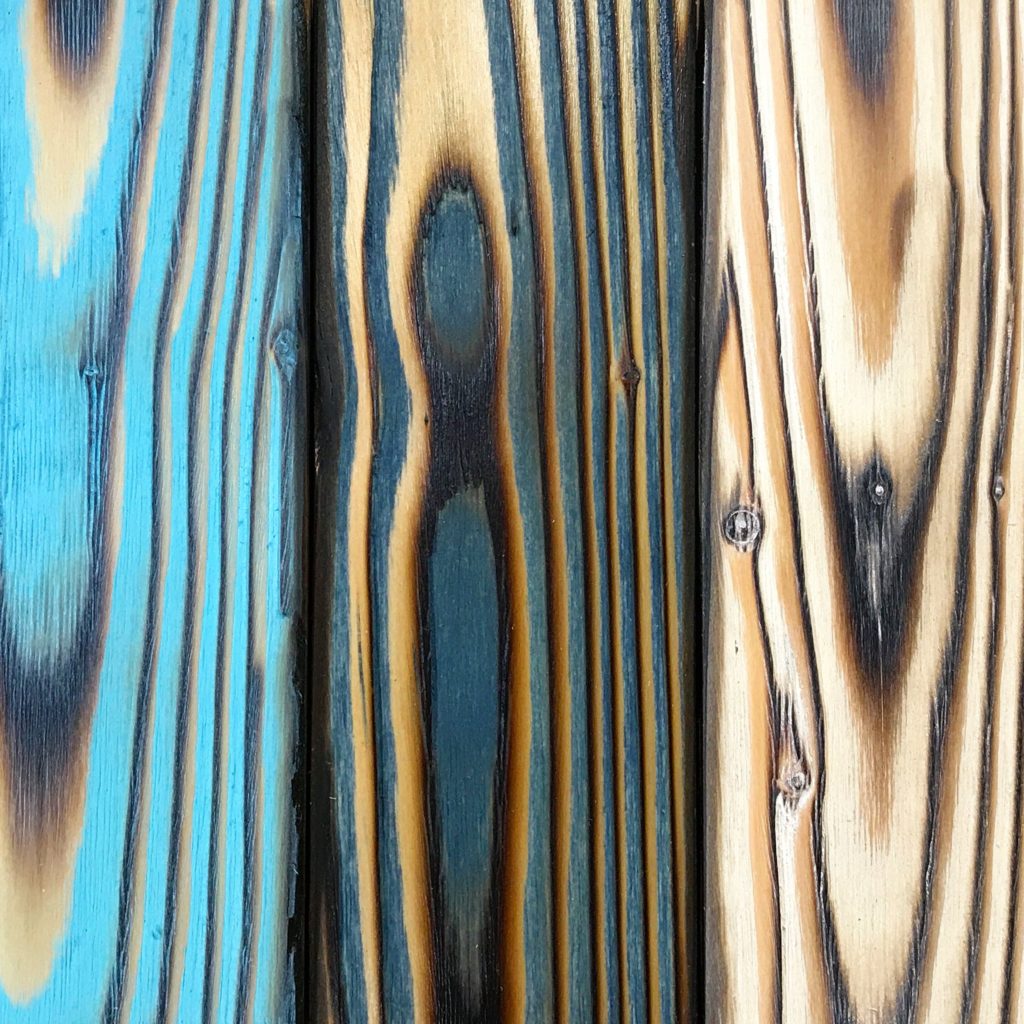
Aside from brushing the wood with a bristle brush and adding oil to aid in preserving the wood many furniture builders and makers are adding color post brushing of the wood. This can be done but most of the soft grain will need stripped out with a stiff brush to create valleys between the hard grain for the color to settle in giving the wood piece a more attractive and unique style. The finishes that are used are typically a stain or diluted paint or milk paint and are wiped on and off removing any excess residue.
The Inspire WoodCraft Shou Sugi Ban Process
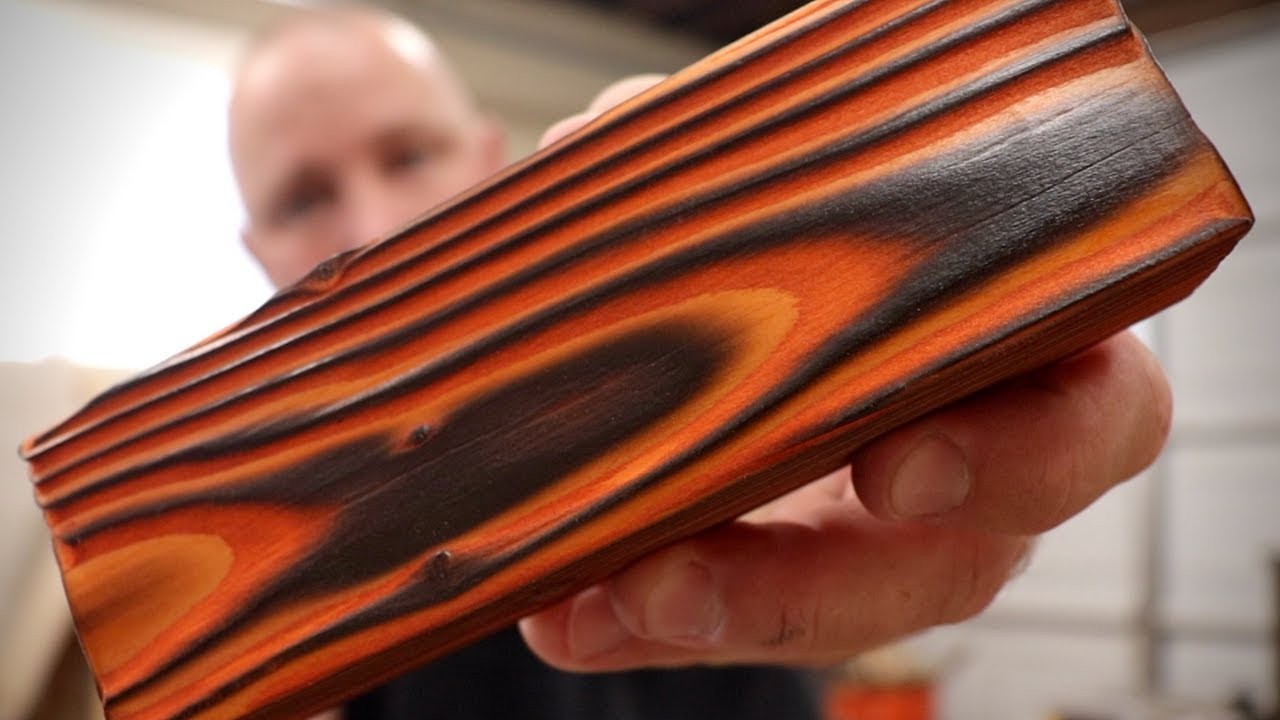
Shou Sugi Ban Technique: If you’re reading this review, you most likely know what my niche is in the making world. In a nutshell I burn wood, brush off the loose soot, apply a treatment of color and make stuff with it. Here’s a sample:
When I first started out,
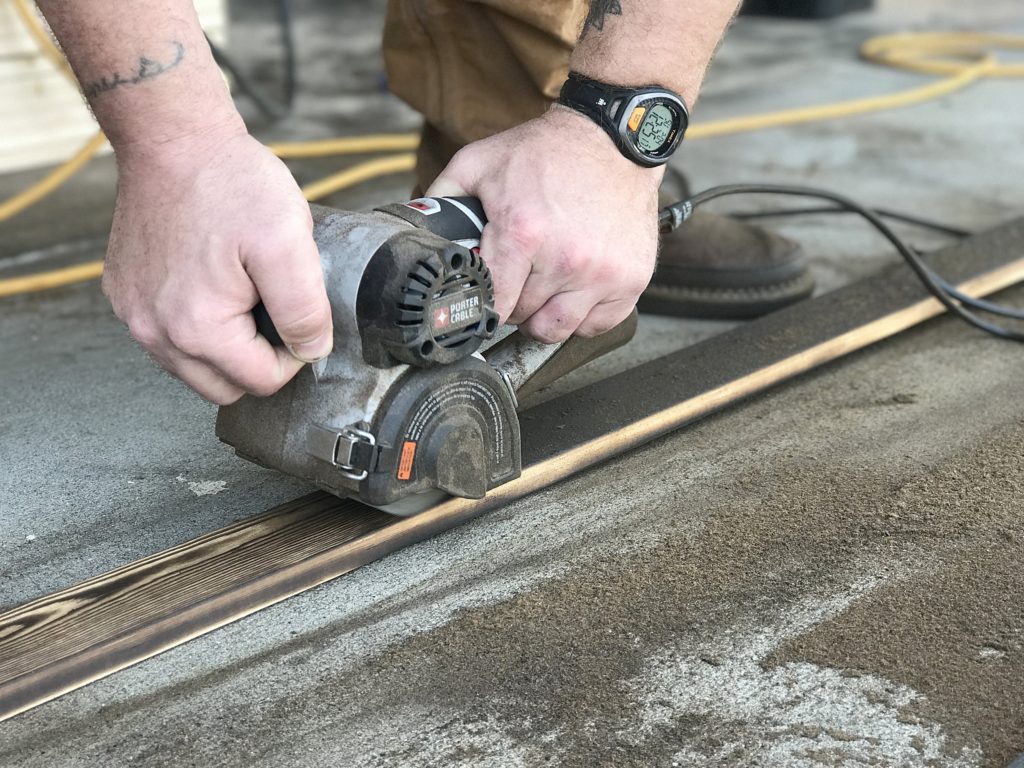
I did everything by hand with hand-held brushes. It took a very long time and took quite a bit of muscle. At first it was just an experiment, so that was fine. But I soon realized that I needed something that packed a little more of a punch if I was going to get good, consistent results for should sugi ban technique. Enter, the Restorer.
Now keep in mind
that I am only giving my two cents as for how this tool works for me and what I do. How it works for removing paint, sanding, buffing or anything else one might use it for, I cannot say because I quite simply have not put it through those tests.
The Restorer comes with
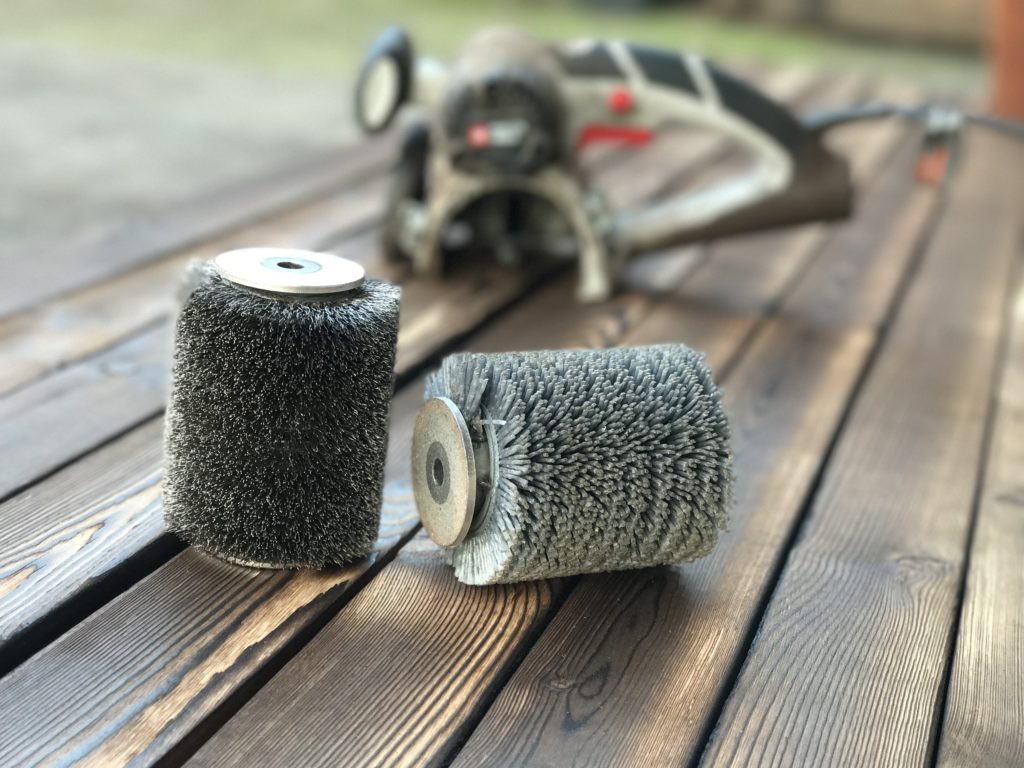
a couple of different grit sleeves and a drum when you purchase it. Again, I haven’t used those. But what really got my attention, and ultimately my purchase decision, is the recent addition of stainless wire and nylon brushes to their accessory lineup. Now to be honest, the nylon brush is a bit stiff for cleaning up soot from a charred board. What I have found it very useful for though is burnishing the charred grain after using the wire wheel to do the heavy wire brushing work. Shou Sugi Ban technique of burnishing the grain pattern helps to maintain the dark brown or black color of the grain by making it easier to wipe the stain back off after I’ve added color.
The wire wheel, on the other hand,
works great for digging down in between the hardened grain and removing the soft, scorched spring wood. This also works great for cleaning up old fence boards or “barn wood” (I’m not sure what’s even considered barn wood anymore.) or adding a reclaimed look to soft woods such as cedar, hemlock, Douglas fir and pine. It takes a little experimenting to get used to the behavior traits of the Restorer. It does hop and bounce around a little bit, and I can only assume that’s in part because of the length of the wire. But I also think it might be because of the weight of the machine overall. It’s very light weight which causes it to float around a little. But like every other new tool, it takes a little bit to figure out exactly how it works in relationship to what you need it to do.
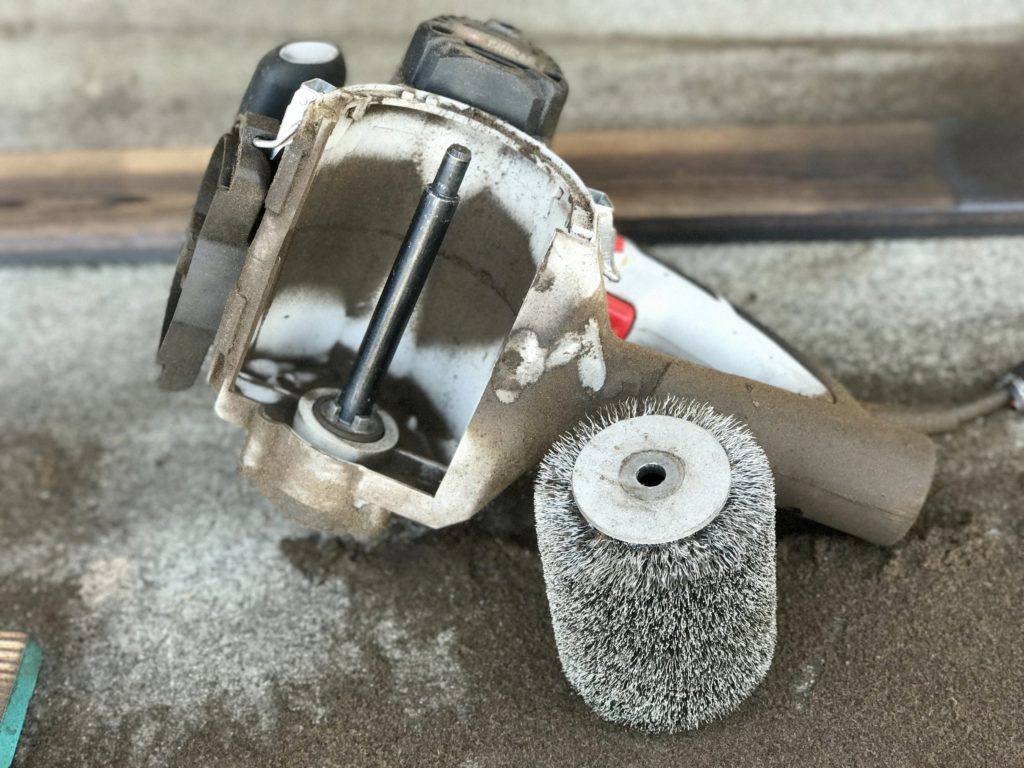
Wheel replacement couldn’t be easier on the Restorer. You simply undo the two clasps on the wheel housing, flip the door open, pull the wheel out, throw a new one in, latch the door back down and you’re back in business! It takes less than a minute to swap things out.
Although I don’t have it hooked up in these pictures, the Restorer has a dust port on the rear of the machine under the handle, and it works quite well hooked up to a shop vac. I use a DeWalt cordless shop-vac when I need it and it works great. Keep in mind that for the dust collection to be effective, it needs to have the whole wheel touching the surface of the work piece. In my experience, if you’re brushing two-inch pieces of wood, you don’t stand much of a chance of not making a huge mess. But on wider boards it works great.
DIY Shou Sugi Ban wood burning tips and tools
Other notable features include an adjustable wheel speed control and a trigger lock. While the speed control isn’t something that benefits me personally, the trigger lock is a life saver for long runs and greatly reduces hand fatigue. One thing to note: the Restorer is loud. I highly recommend hearing protection and of course a dust mask and safety glasses is always a great idea.
So there you go, a quick word about the Restorer and how it relates to what I use it for in my shop. The Restorer has a ton of different wheels available for a variety of different jobs, and they have plans for more wheels down the road. I think if you’re wanting to try to achieve a raised grain look or clean up reclaimed wood, and don’t want to break the bank (or your back) the Restorer is something worth looking into.
Have you used the Restorer? What is your experience with it an how well did it work for you? I’d love to hear your feedback.
Cheers!
Article Courtesy of Inspire Woodcraft

